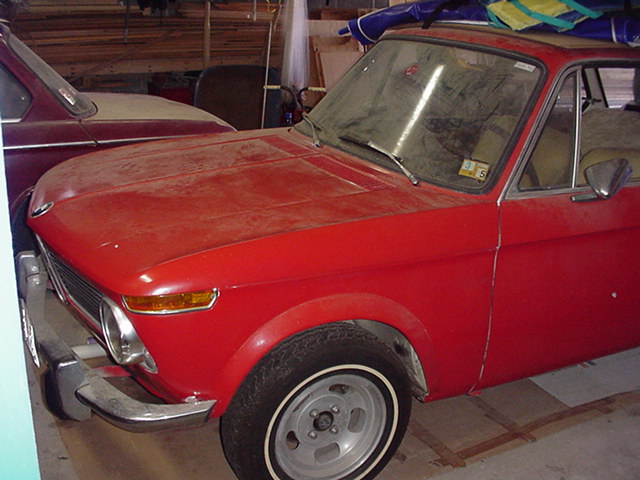
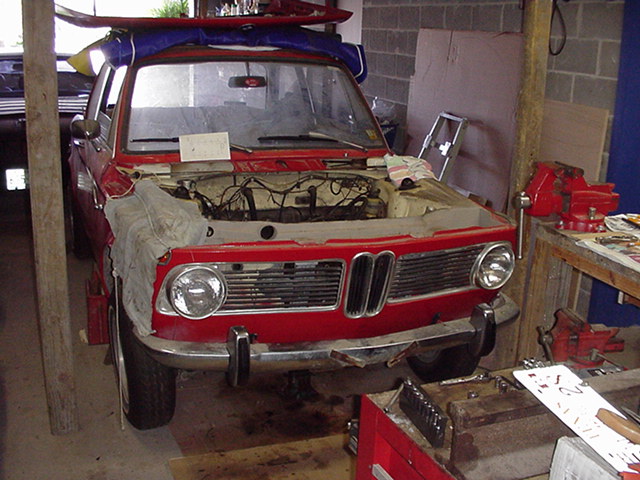
BMW 2002 1969
This is my old red BMW 2002 1969
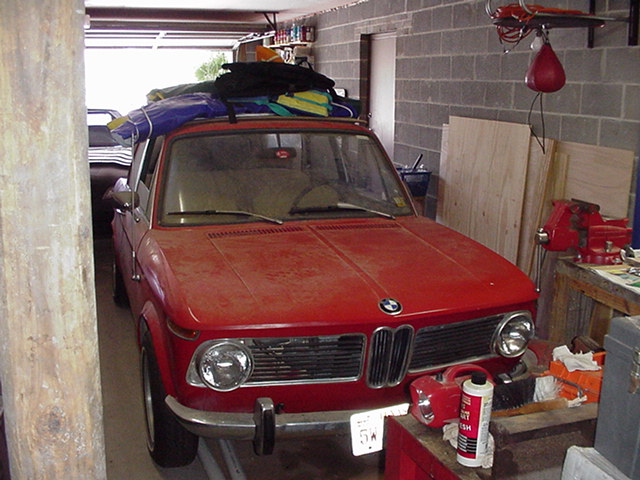
This is the front and it is waiting to run again. The window sticker is March 1995
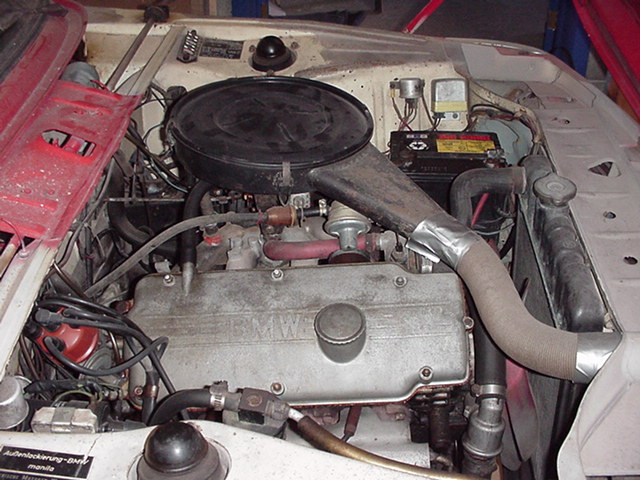
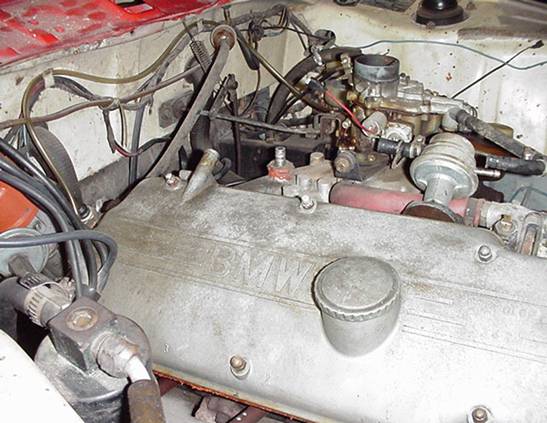
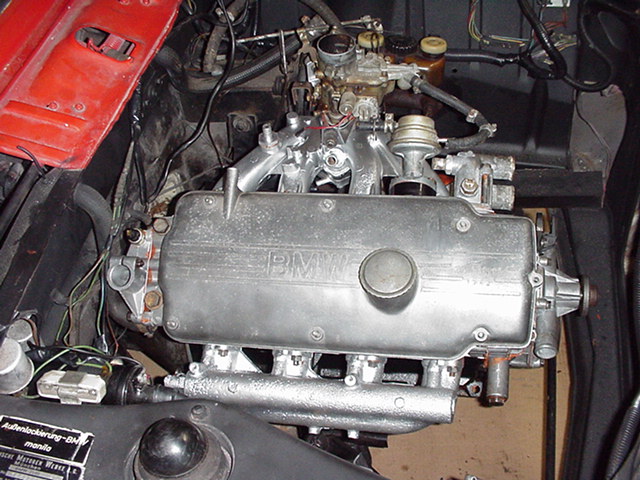
Looking at the engine and considering the rebuild, driver side view.

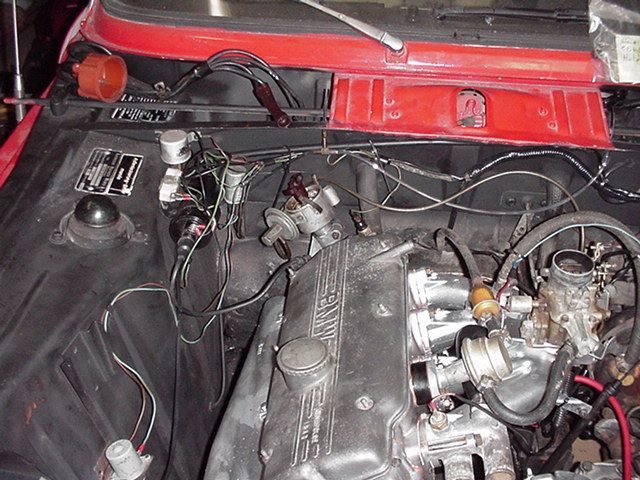
The passenger side.
Aug. 29 2005
Discuss the BMW engine job.
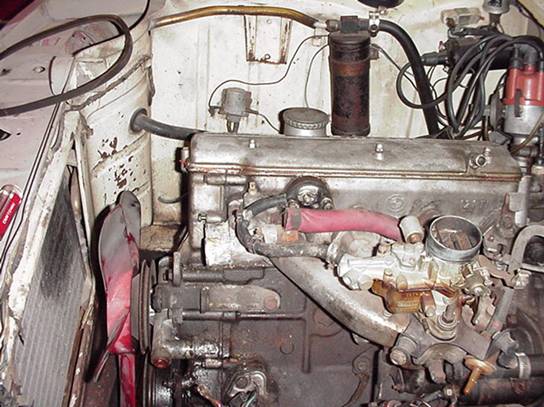
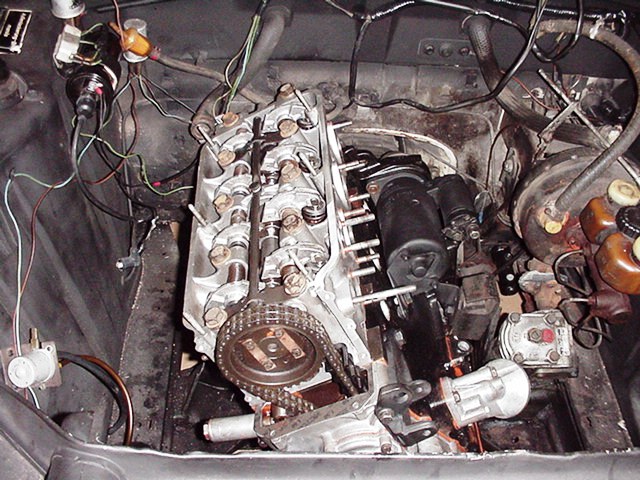
This is the first picture before
taking the heads off picture from driver side. Aug. 28 2005
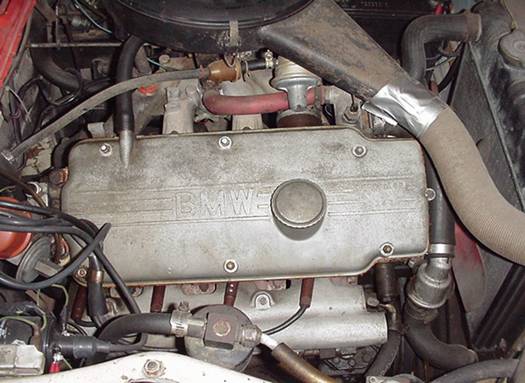
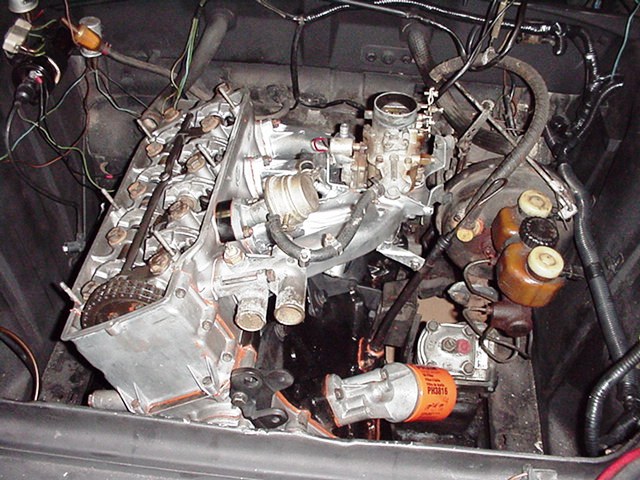
This is the second picture before
taking the heads off picture from driver side. Aug. 28 2005
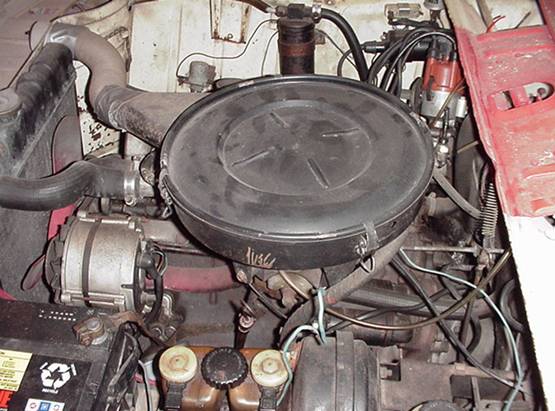
Air horn taken off to view the hoses and
electrical wires for reference.
Aug. 28 2005
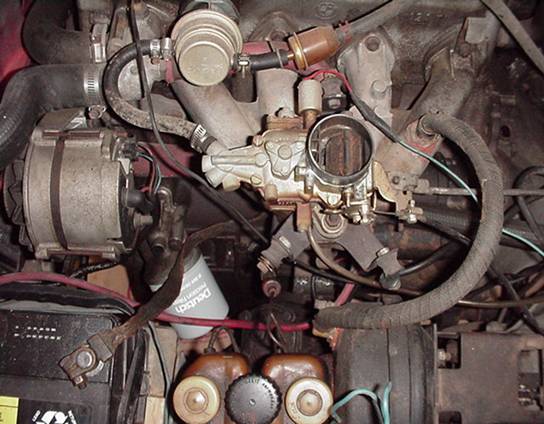
Right side view, notice the hoses and
electrical wires for reference.
Aug. 28 2005
Alternator now removed and will remove air conditioner dryer. Aug. 29 2005 5:20:54 PM
This is the timing mark on the flywheel looking down into viewing hole of block.
This is top dead center and should
place cam and crank in alignment.
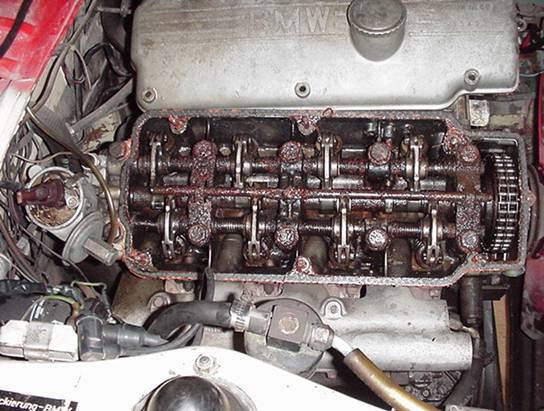
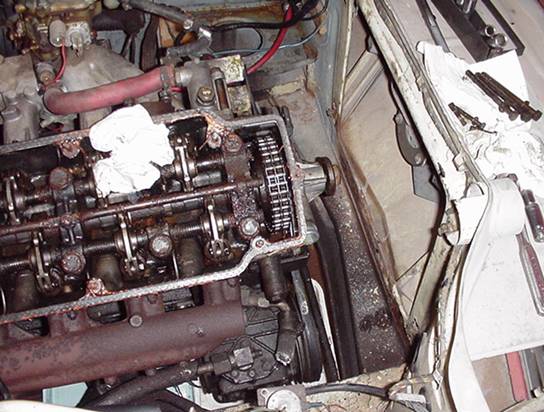
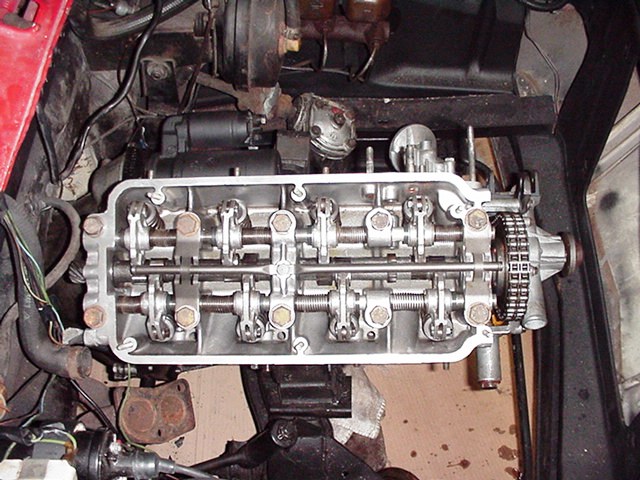
Rocker cover removed and mess from
antifreeze leek. Look at the
distributor and rotor positions, notice vacuum hoses goes to carburetor. Plugs are numbered from front to back 1
2 3 4. Timing order is 1 3 4 2 so make sure distributor is set correctly with
plug wires in this timing order and the rotor is position correctly.
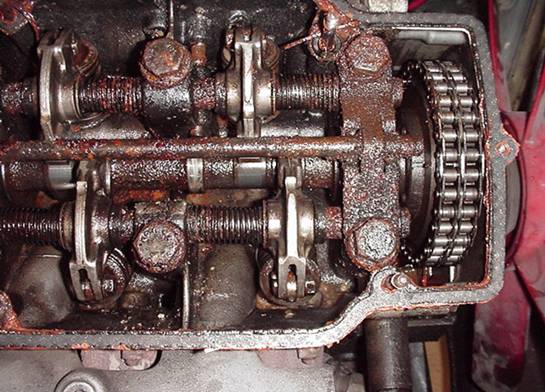
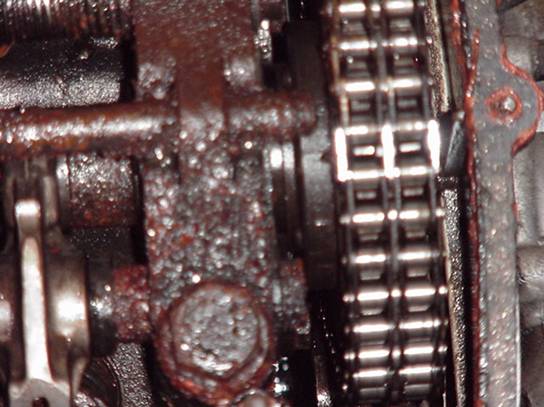
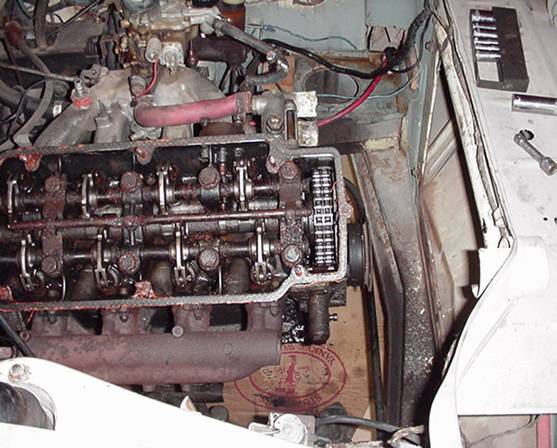
This is a picture of the timing chain
and the mark on the cam shaft for timing purposes. This is a mess and the reason for the
tear down. Here I am still looking
for the problem. The aluminum head
and the antifreeze react to each other and the antifreeze eats up the
aluminum.
This is another shot of the timing mark, however not so good.
Aug. 29 2005 6:23:04 PM
Water pump.
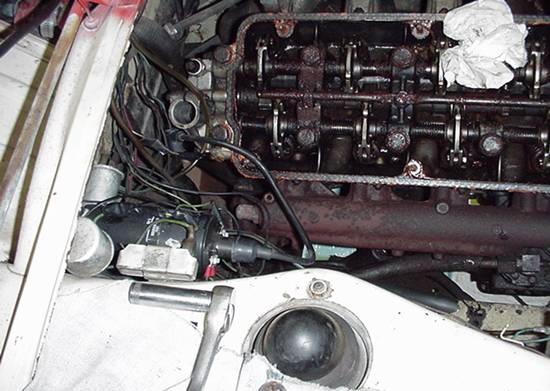
This is the back passenger side with the distributor taken out.
This is the driver side with the water pump out and the generator.
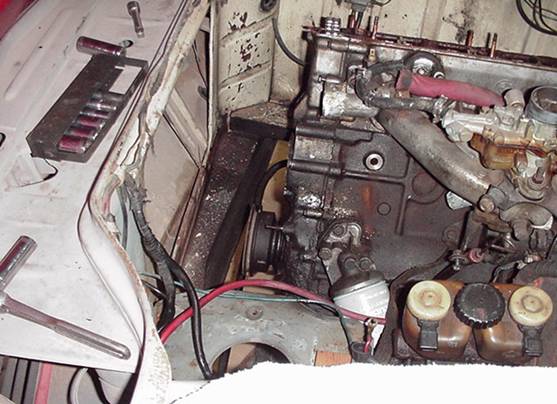
This is the passenger side.
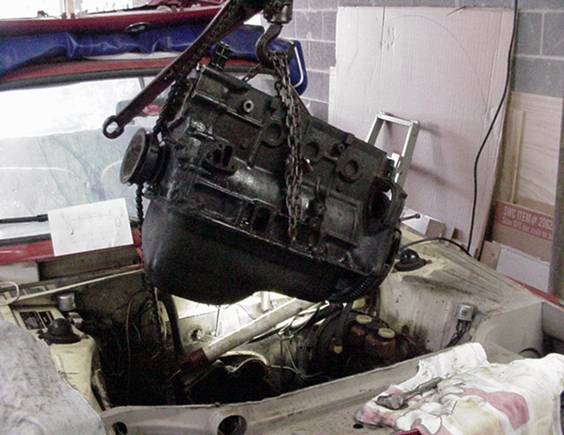
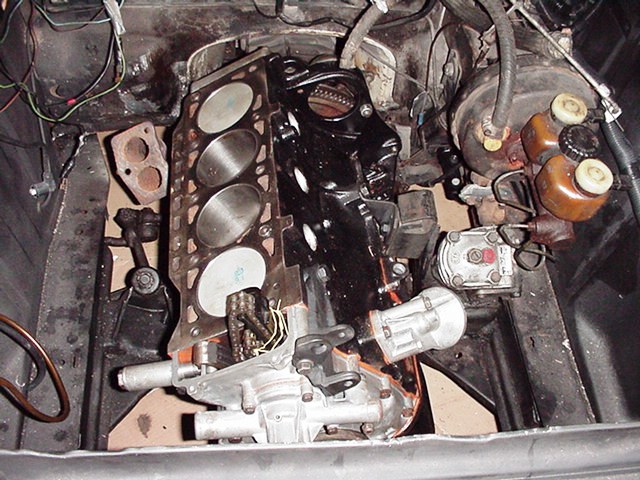
This is the engine being pulled and a greasy mess, the head is still on the block..
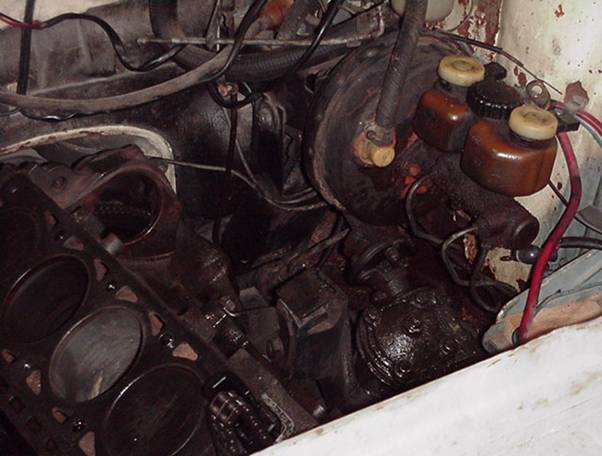
The Head is off and the engine is very greasy.
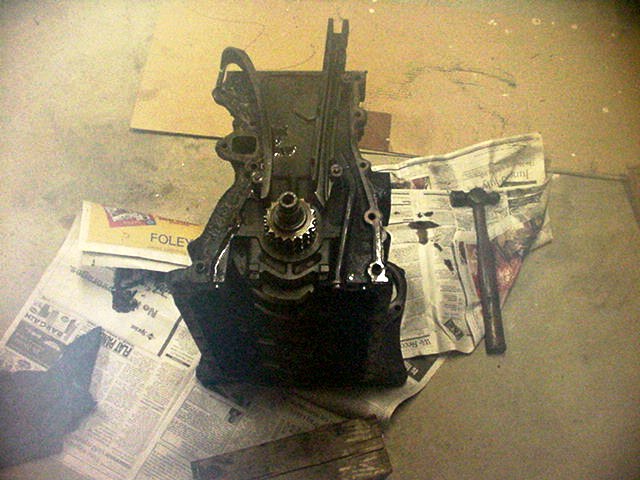
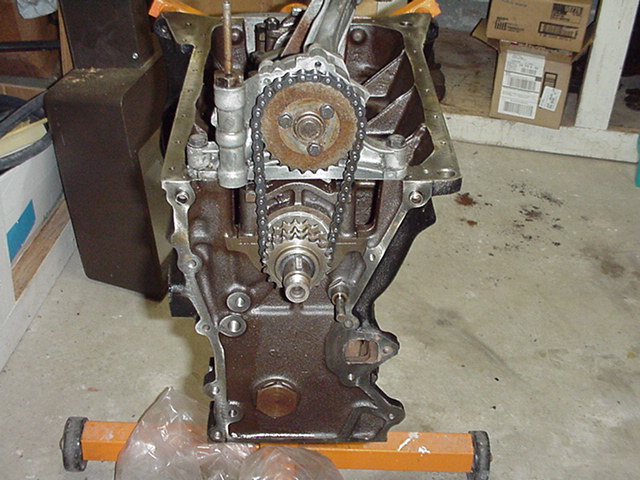
This picture shows the cam chain with the cover
removed.
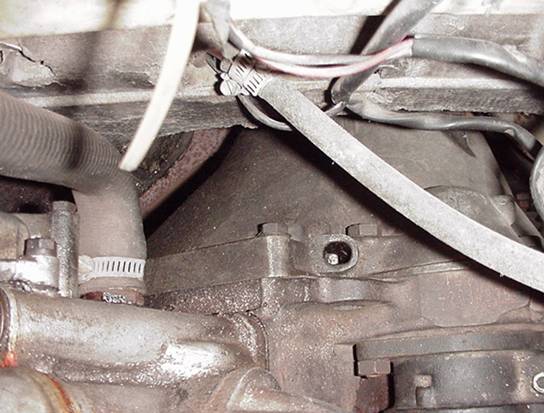
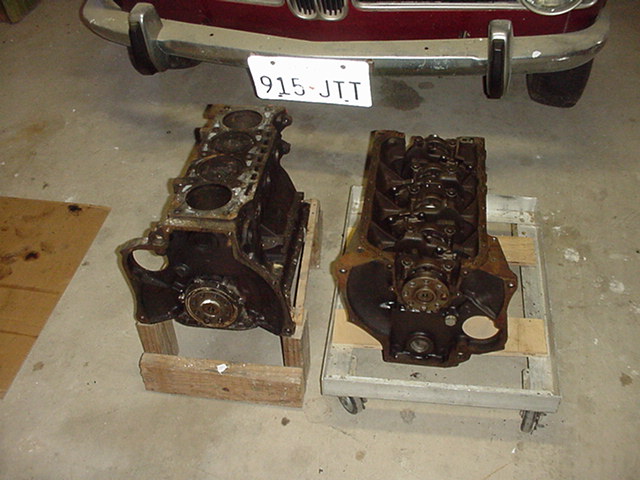
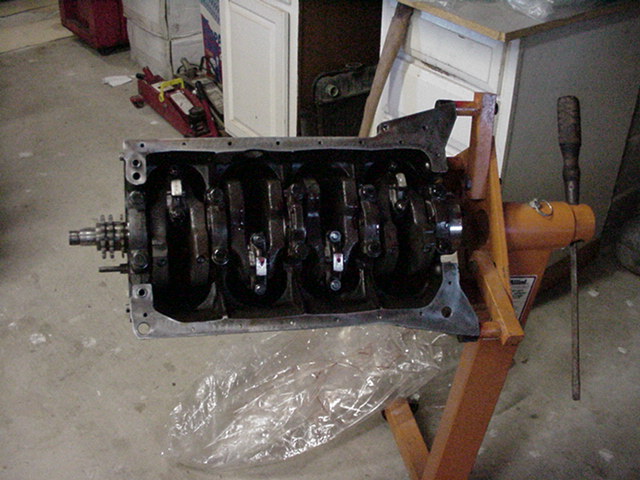
This picture shows two block backside up and down.
This is the car after the engin is out and sitting for
three years waiting to go back together.
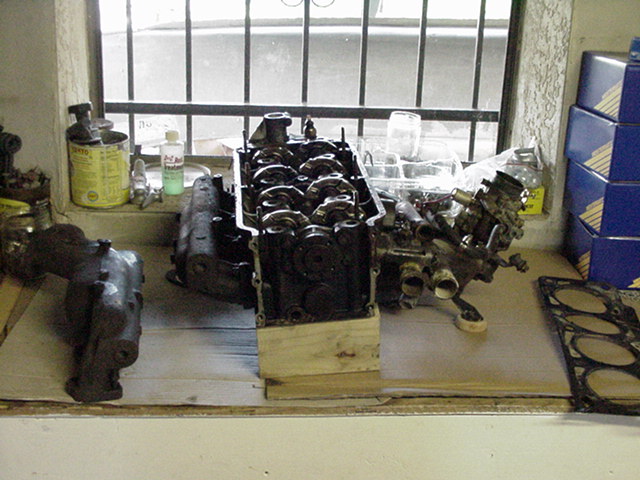
The head before rebuilding.
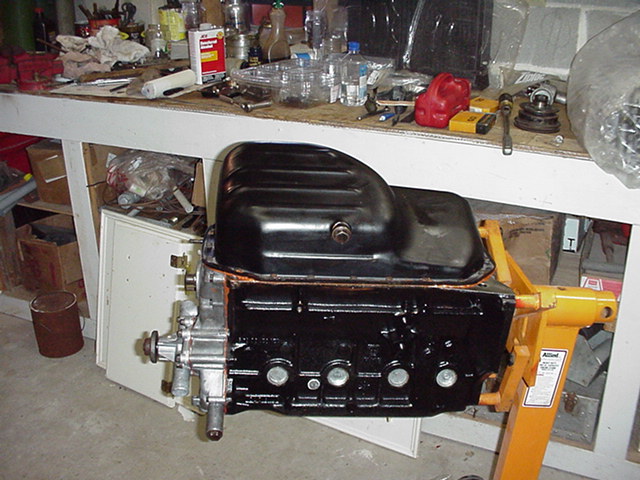
The engine has been rebuilt and ready to go back together in June of 2008.
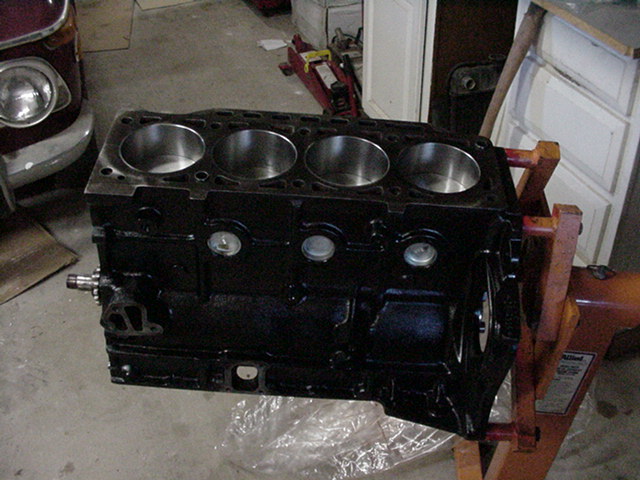
The other side.
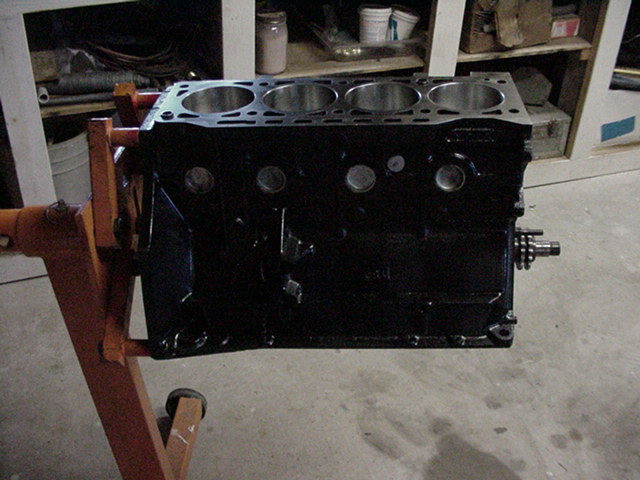
Bottom view.
It is now June 20, 2008 a few year later!! This is the oil pump with shim to correct chain tension.
It takes a few shims and tries to get the chain tension correct.

The oil chain is installed and slight depression on it without a lot of slack.
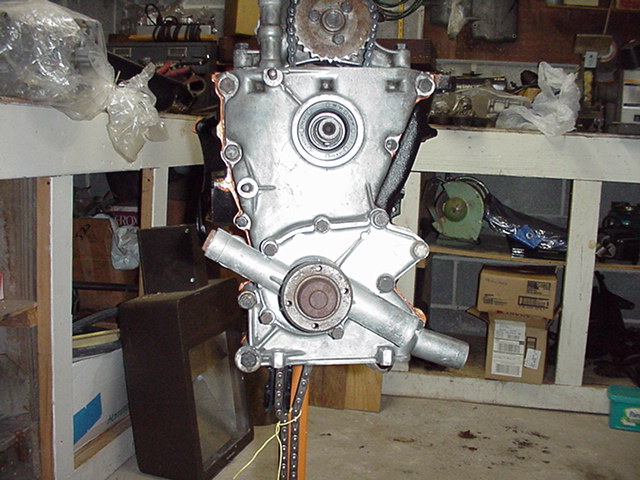
Front view with the water pump mounted and the timing chain tied on to the guide.
Driver side view with timing chain cover on, notice the cam chain tie in place

This is the passenger side view.
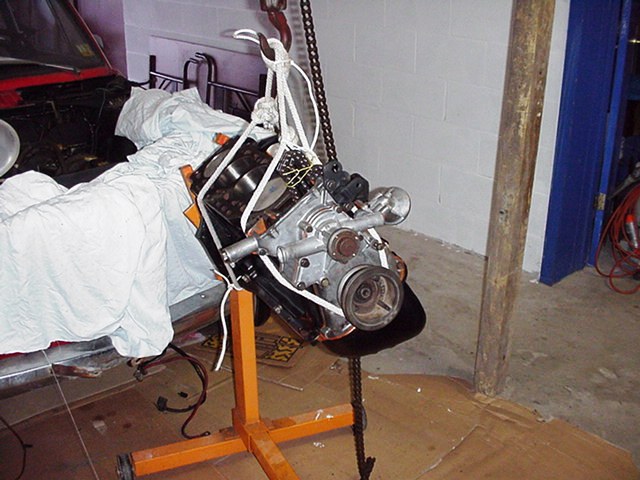
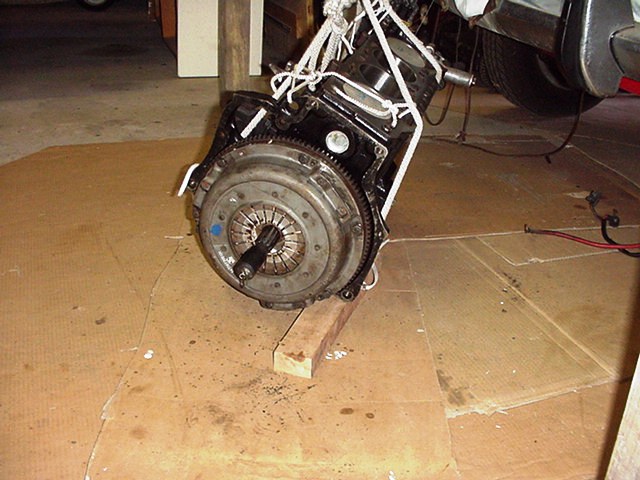
The fly wheel put on the engine and on the hoist and the clutch and clutch palate waiting.
The clutch plate is aligned with a pilot; make sure to take out before putting block into car.
The clutch should be as close to center as possible so the transmission shaft will slid in easy.
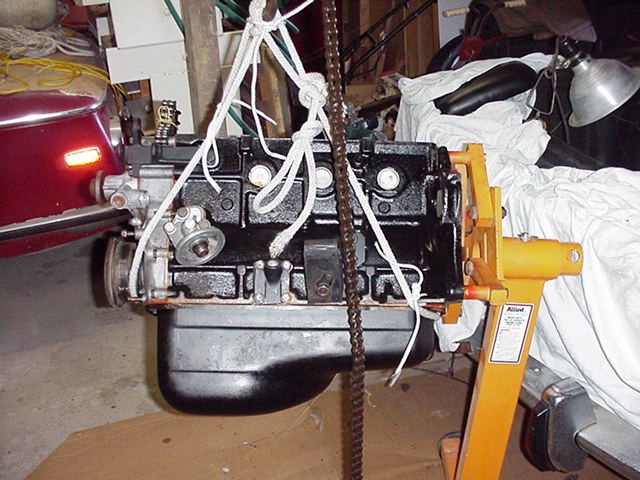
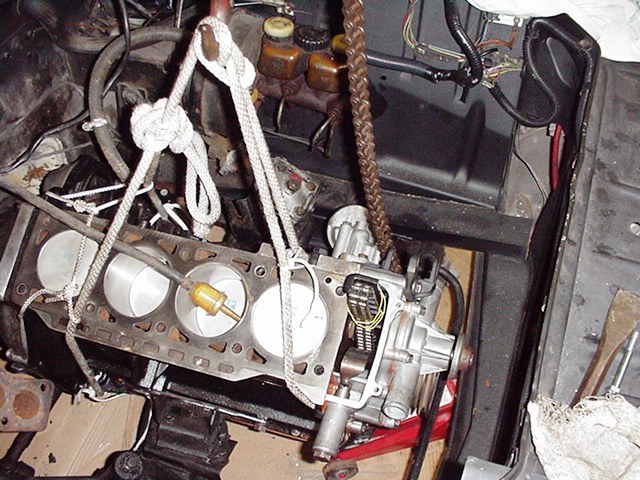
I used rope instead of chain so as not to damage paint. This is a small block and rope word ok.
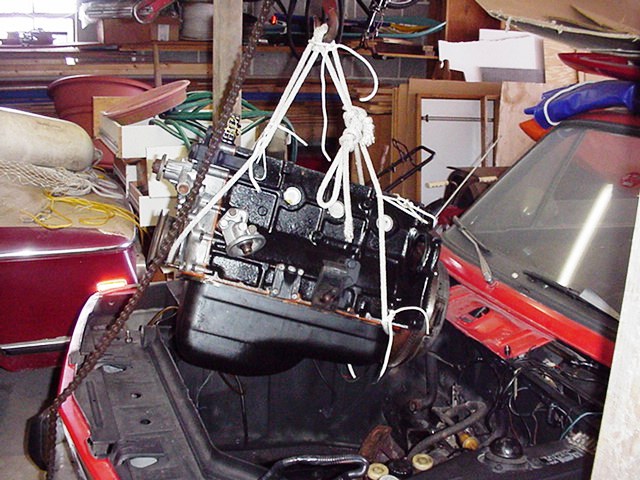
Down goes the engine.
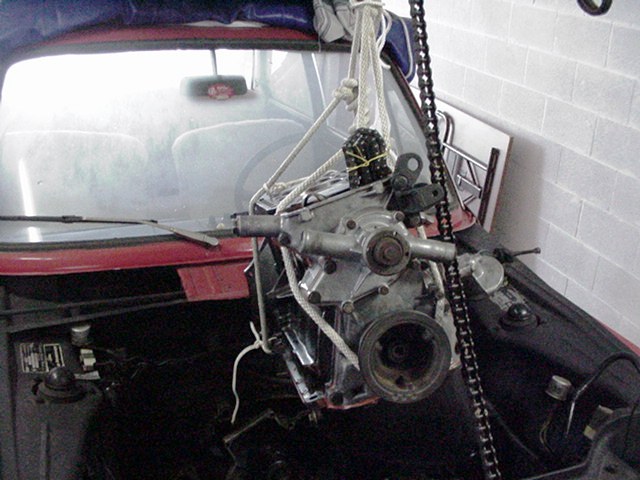
The block is in and slid onto the transmission shaft.
This was not real smooth and took a lot of maneuvering and jacking the engine up at different angles.
The transmission was put in gear so the shaft would not move and then slid together with bolts.
The engine is slanted and the motor mounts on the right and left side are next put on.
The left mount is take off and put on last because of space constraints.
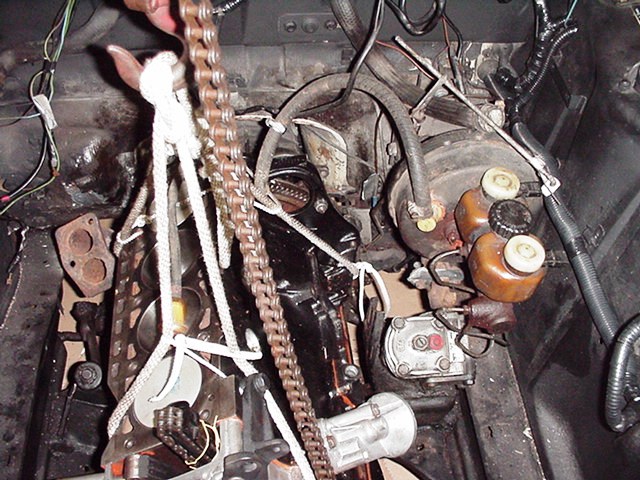
After several hours of work the block is mounted with the motor mounts and transmission.
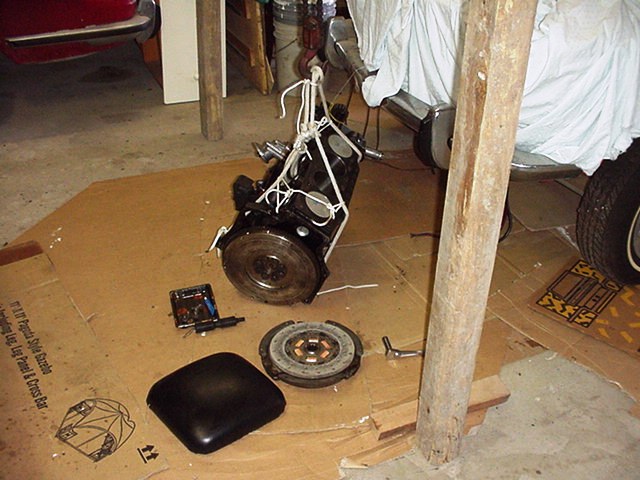
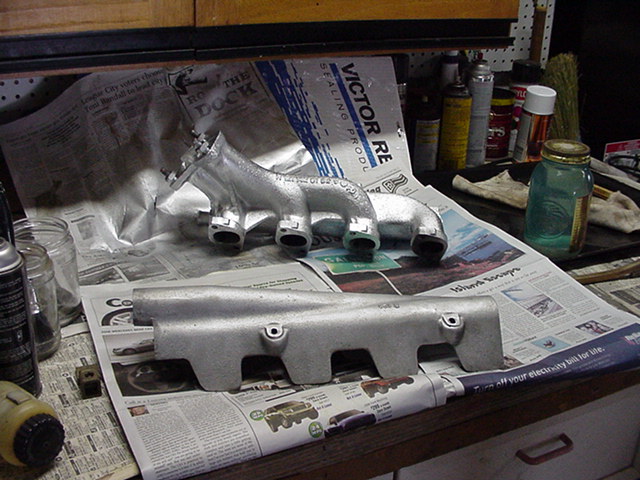
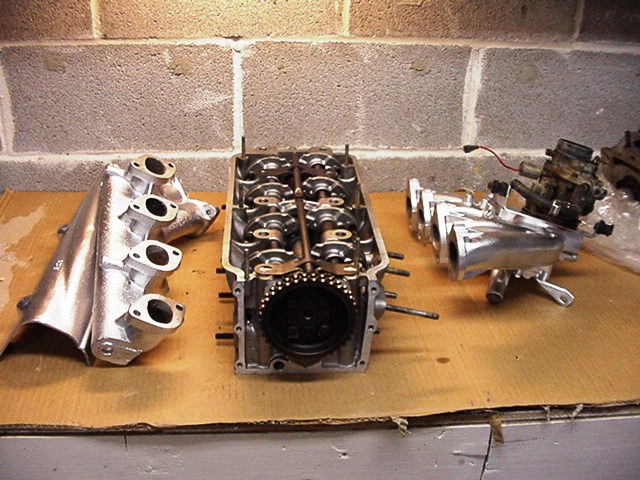
Clean up time for the exhaust and intake manifolds.
The exhaust manifold is clean and ready to paint with high temp paint. It will probably not work well.

Painted and waiting to go on head.
The intake manifold is a real mess, notice the little single barrel carborator.
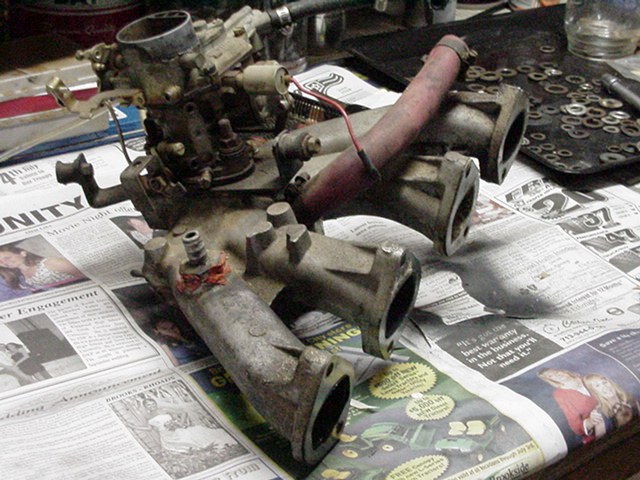
This is an upside view.
Another shot for reference.
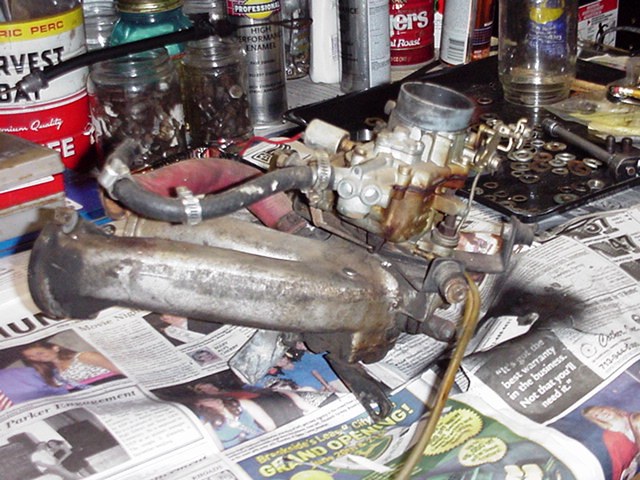
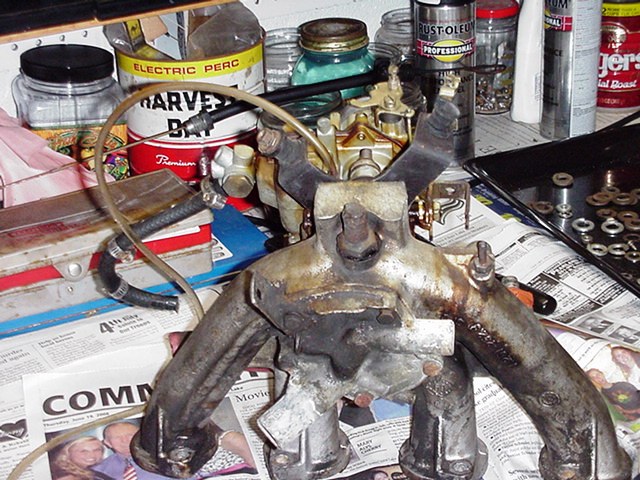
Cleaned up and ready to go back on. The single barrel Weber carburetor needs rebuilding also.
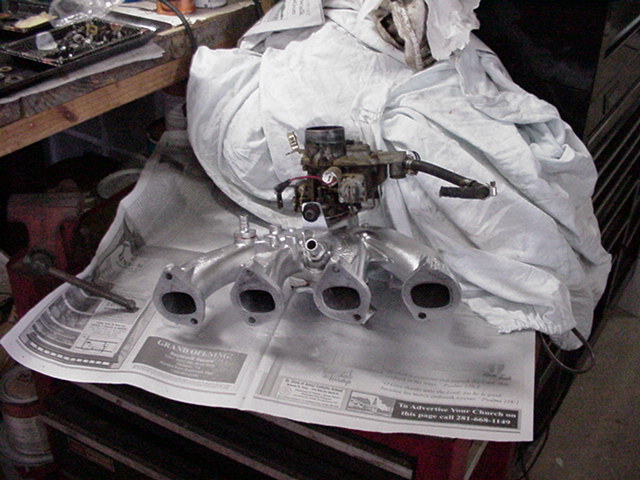
The intake, exhaust and the Head ready to go in.

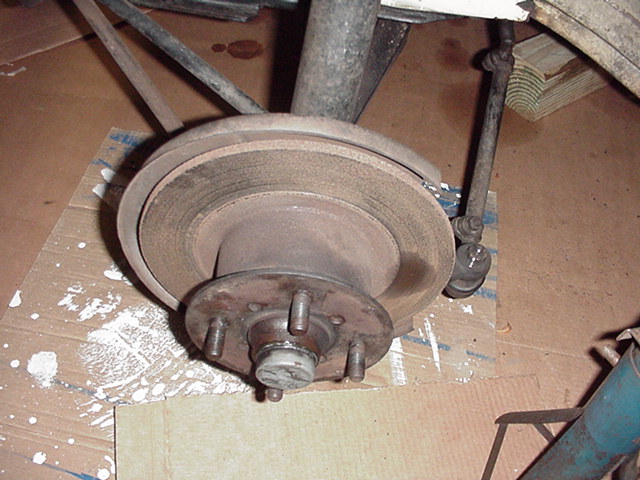
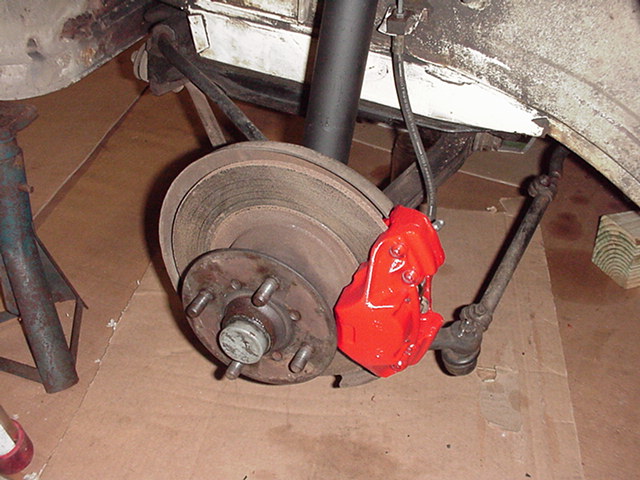
Rotor is still in good shape but rusty. January 23. 2009
 .
.
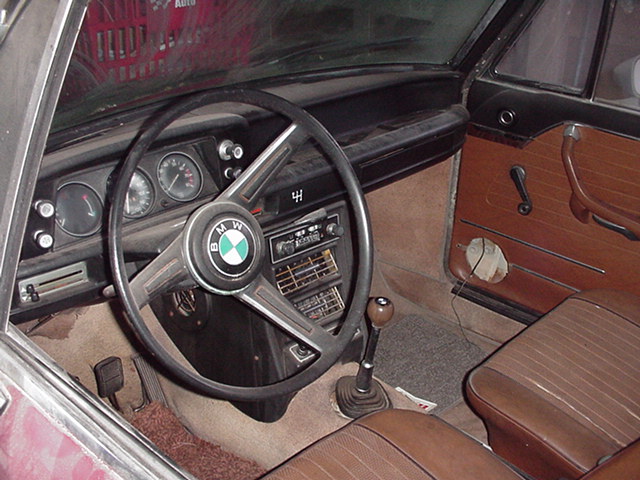
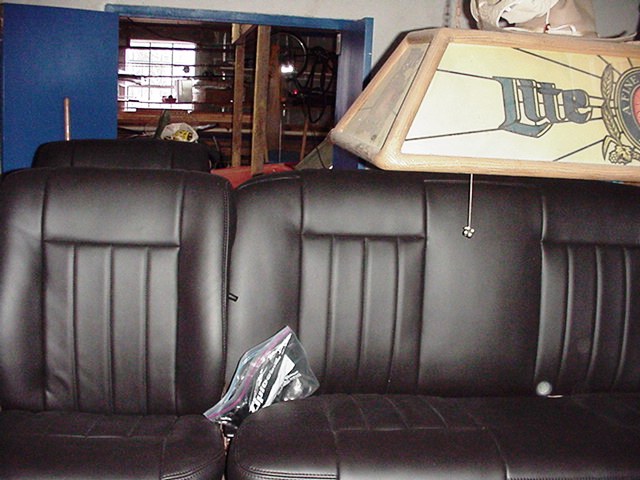
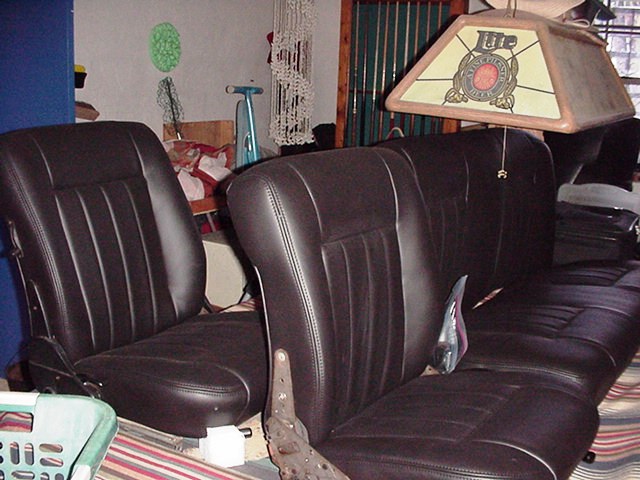
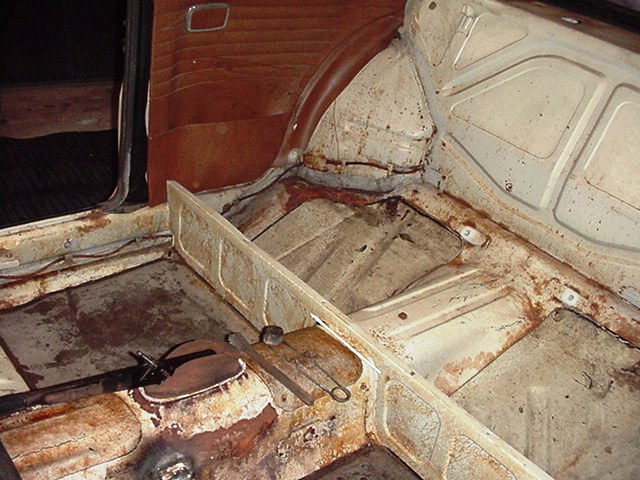
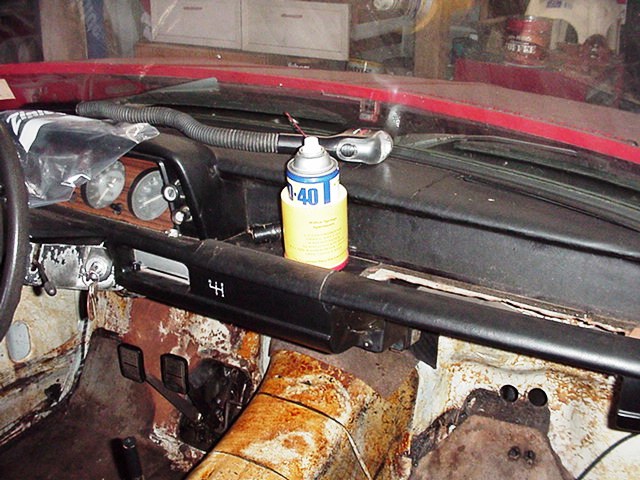
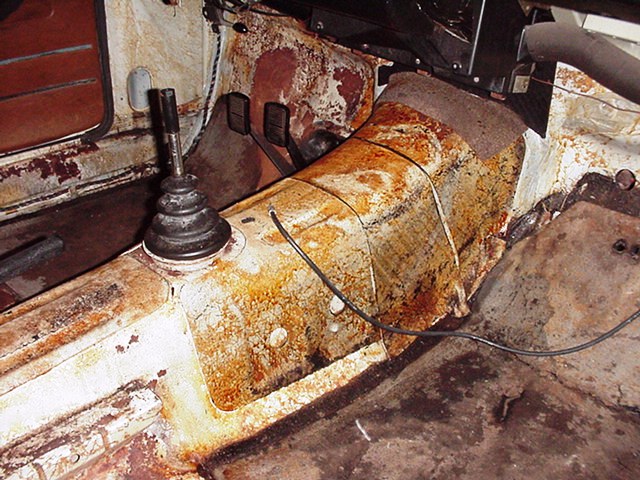
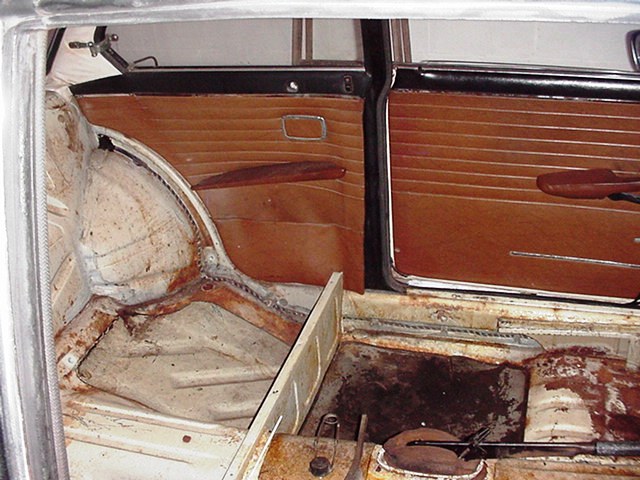
The interior of the 1971 BMW